One of the biggest advantages of DTF gang sheet printing is the ability to pack multiple designs onto a single sheet and pay only for what you use. But how you arrange (nest) your designs makes a huge difference in cost and coverage. This guide covers everything you need to know to maximize your gang sheet space.
What Is a Gang Sheet?
A gang sheet is a large sheet (typically 22" wide, any length) where multiple designs are arranged side by side for printing. Instead of printing each design on its own sheet, you pack as many as possible onto one sheet — reducing waste and lowering your cost per transfer significantly.
Why Nesting Designs Matters
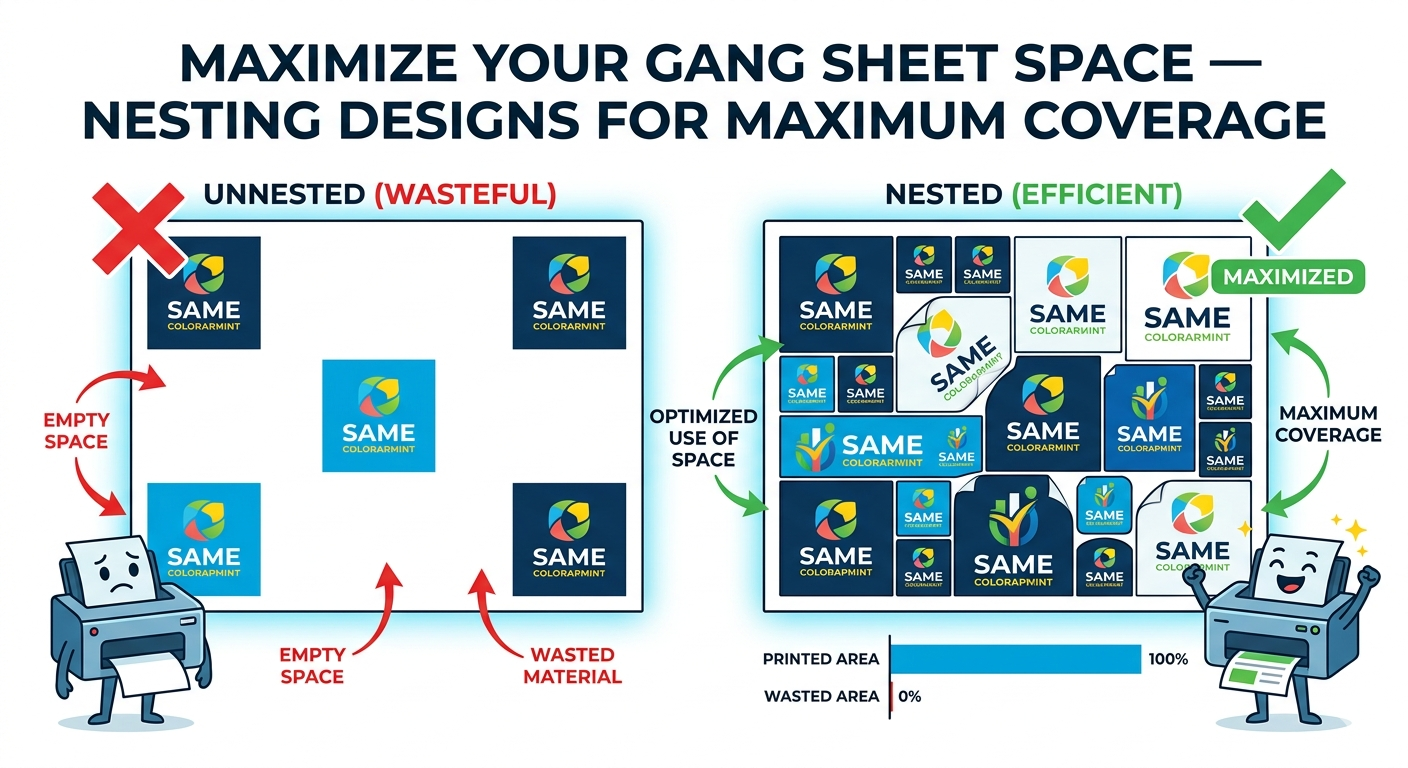
Gang sheets are priced by the square inch (or linear inch of the roll). Empty space on your sheet is wasted money. A well-nested 22"×22" sheet could fit 10–15 standard transfers; a poorly spaced one might only fit 4–6 of the same designs.
The goal is to minimize white space between designs while keeping at least 0.25"–0.5" of clearance between each print for clean cutting.
How to Nest Designs on a Gang Sheet
1. Sort by Height First
Group your designs by similar heights. Place tall designs together in rows, then fill remaining space with shorter designs. This prevents large empty gaps that cannot be filled.
2. Rotate Designs to Fill Gaps
If a design leaves a large triangular or irregular gap next to it, try rotating it 90° or 180°. Sometimes a simple rotation lets a neighboring design slot in tightly.
3. Mix Sizes Strategically
Place your large designs first, then fill the gaps around them with medium and small designs. Small designs (2"–4") are perfect for filling corners and awkward spaces left by larger prints.
4. Use Our Auto Gang Sheet Builder
Our Auto Gang Sheet Builder automatically nests your designs for maximum coverage. Upload your files, set quantities, and the tool arranges everything optimally — no manual measuring required. It is the fastest way to maximize your space without any design software.
5. Keep Spacing Consistent
Maintain at least 0.25" between designs for a clean peel and cut. Designs placed too close together can cause tearing when peeling the film or cutting between prints.
Gang Sheet Size Guide
| Sheet Size | Best For | Approx. Designs (4"×4") |
|---|---|---|
| 22" × 12" | Small orders, 1–2 designs | ~8–10 |
| 22" × 22" | Medium runs, 3–5 designs | ~20–25 |
| 22" × 36" | Larger runs, 6+ designs | ~35–45 |
| 22" × 48" | Bulk orders, full collections | ~55–65 |
Common Mistakes That Waste Space
- Too much spacing between designs — 0.25" is enough; 1"+ gaps add up fast
- Not rotating designs — a 90° rotation can save inches of wasted space per row
- Grouping only same-size designs — mixing sizes fills the gaps that identical designs leave
- Centering designs on the sheet — pack from one edge and work across; centering creates symmetrical waste on both sides
- Leaving white-background areas in your PNG — always trim your canvas tight to the design so the builder can nest accurately
Ready to Build Your Gang Sheet?
Use our Auto Gang Sheet Builder for automatic nesting, or build your own manually for full control. We print and ship all gang sheets within 24–48 hours from Fuquay Varina, NC — serving Raleigh, Cary, Durham, Chapel Hill, and customers across North Carolina and the entire USA.